|
|
||
| SLAC Home | Computing Home | Computing Outages | Help | ||
Updating Public Folder Calendars for DST
Wait to do this until after SCCS has told you that it is OK for you to update your Public Folder calendars.
- Preparations
- First, print out a copy of the Public Folder calendars for March, April, October, and November 2007.
- Install
- Administrative privileges are required.
- Install the Outlook Time Zone Update tool (tzmove) from https://xweb.slac.stanford.edu. You will find it listed under product name of "Time Zone Data Update Tool for Microsoft Office Outlook".
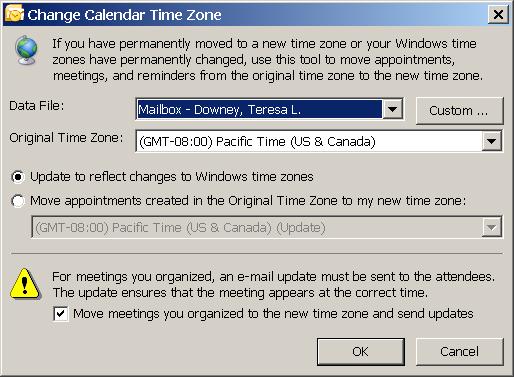
- When running "tzmove.exe" (AKA OutlookTimeZoneMove.exe) you'll get a prompt to accept License Terms and then it will install. A few moments later a screen like this will pop up but we don't want to run the tool yet. We need to apply the hotfix.
- Just press Cancel because we still need to apply the hotfix.
- Now install the Hotfix for Time Zone Update Tool (Step 2 of install). When this is done you'll get the notification that the "Installation is complete".
- Run
- After installation the tool should be here:
C:\Program Files\Microsoft Office\Office12\Office Outlook Time Zone Data Update Tool\- Use Windows Explorer to navigate to the above directory and double-click on TZMOVE.EXE
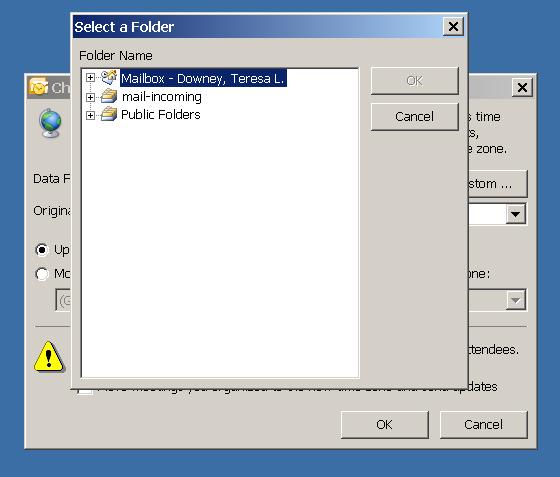
- When the first window of the program opens click the Custom... button and you'll see something like this:
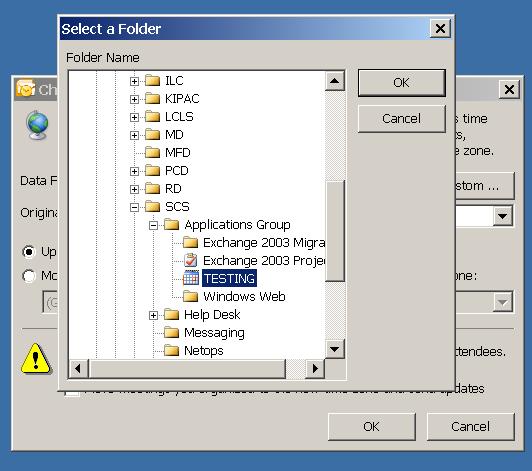
- Expand the Public Folders folder, then expand All Public Folders, continue on until you find the Calendar you need to update. In the example below I'm going to update the TESTING calendar.
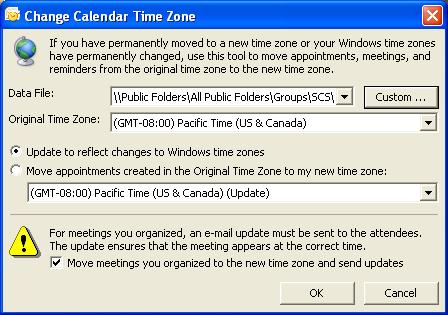
- Press OK button. You will now see a window like this one:
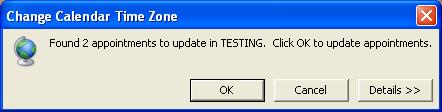
- The defaults should be fine. Just press the OK button. If any meetings are found that MIGHT need updating then you'll see a window something like this:
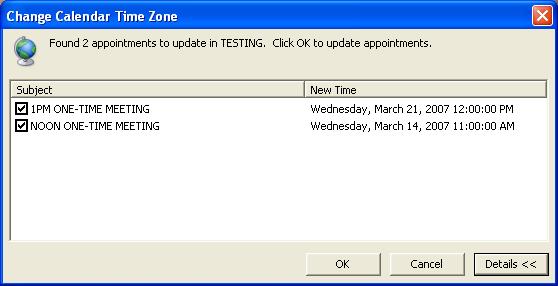
- Press the Details>> button to see which meetings it found. You will want to check or uncheck the boxes as desired.
- When you are satisfied that you've picked the correct ones to move you can press OK and the meetings will be moved. I unchecked the NOON meeting after making the screen shot above...
- Meeting invitations are going to go out where appropriate.
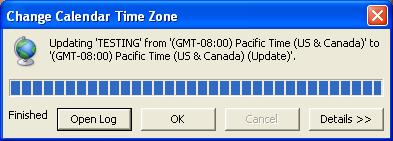
- The next window will come up to show what it did:
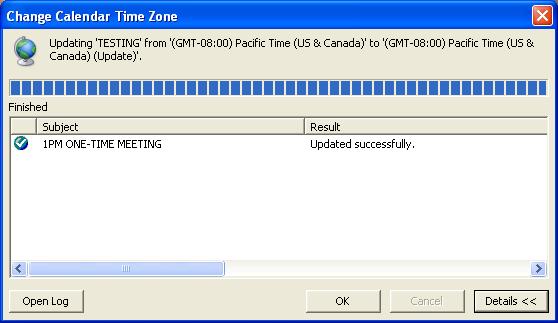
- If you clicked on the Details>> button now you'd see a window like this:
- Finally, if you pressed the Open Log button you'd see something like this:
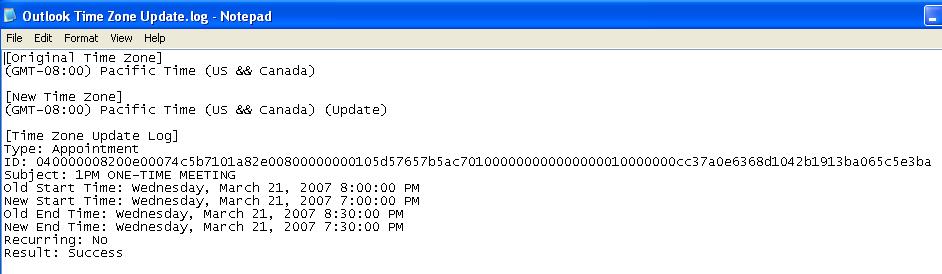
- When you are all done with view logs, etc. you press the OK button to close the window.
| |
||
| |
||
| |