Securely Removing Data with Eraser
Revised: October 25, 2006
This document provides basic step-by-step instructions for using Eraser, a secure data removal tool for Windows, freely available under the GNU Public License.
Eraser can be used for securely erasing files, folders, Recycle Bin contents, and unused drive space on Windows systems. It can also be used to securely move files or folders.
Eraser can be installed from the Xweb website.
More information about Eraser can be found at the following websites:
http://www.heidi.ie/eraser/
http://sourceforge.net/projects/eraser/
Erasing files or folders
To erase the contents of a file or folder, begin by navigating to the file or folder in Windows Explorer or ‘My Computer’.
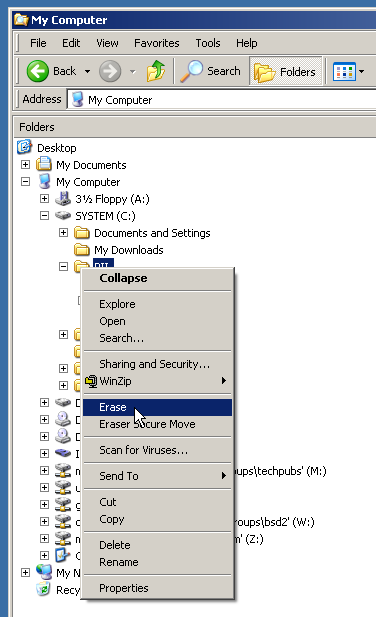
Right click the file or folder you want to erase and select ‘Erase’.
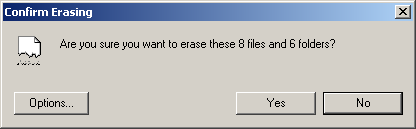
You will be asked to confirm that you wish to erase the file or folder you have selected. Click ‘Yes’ to begin erasing your selection.
CAUTION: Erasing
files or folders will permanently remove the data they contain from your hard
drive. You will not be able to recover
data once it has been erased, so be certain that you have selected the correct
file or folder before proceeding.
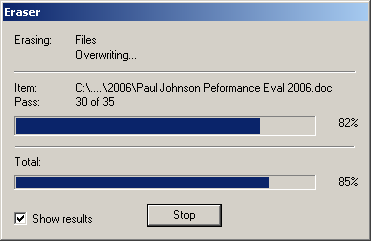
A window will appear showing the progress of erasing your selection.
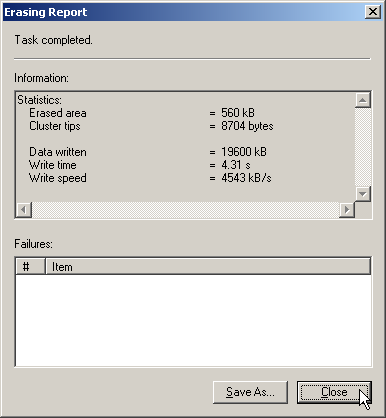
When your selection has been erased, an Erasing Report will be displayed. Click ‘Close’ to close this window.
Erasing the contents of
the Recycle Bin
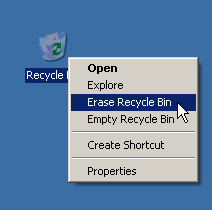
To erase the contents of the Recycle Bin, right-click the Recycle Bin and select ‘Erase Recycle Bin’.
You will be asked to confirm that you wish to erase the contents of the Recycle Bin. Click ‘Yes’ to begin erasing the Recycle Bin contents.
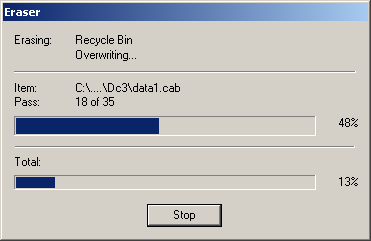
A window will appear showing the progress of erasing the Recycle Bin contents.
When your selection has been erased, an Erasing Report will be displayed. Click ‘Close’ to close this window.
Erasing unused space on a
drive or removable disk
For best results, you should save and close all open documents and close all applications before you erase the unused space on your hard drive, floppy or Zip disk, or flash drive.
The following steps describe the process for erasing unused space on an internal hard drive. To erase unused space on a floppy or Zip disk, insert the floppy or Zip disk into the appropriate disk drive on your computer and follow the steps below. For flash drives and external hard drives, make sure the drive is connected to your computer and follow the steps below.
To erase the unused space on your hard drive, begin by double-clicking on ‘My Computer’.
Right click your hard drive (C: on most systems) and select ‘Erase unused space’.

NOTE: Eraser does not
support erasing unused space on network drives, such as the V: or Z: drives.
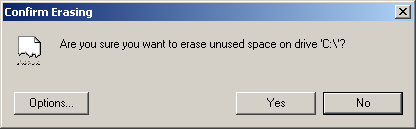
You will be asked to confirm that you wish to erase the unused space on the drive you have selected. Click ‘Yes’ to begin erasing the unused space on the drive you have selected.
CAUTION: Erasing the
unused space on a drive will permanently remove any data contained in the
unused space on that drive. You will not
be able to recover any such data once it has been erased, so be certain that
you have selected the correct drive before proceeding.
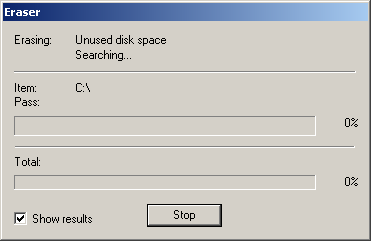
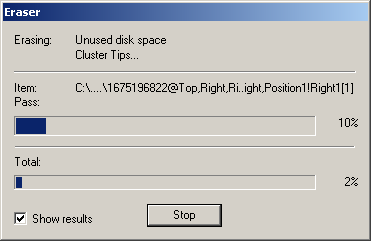
A window will appear showing the progress of erasing your selection. The process begins with an analysis of the hard drive, which can take several minutes to complete.
The next step is the overwriting of cluster tips. A cluster tip (also known as slack space) is the unused area at the end of the last cluster allocated to storing a file on the drive.
NOTE: Do not be alarmed that Eraser is processing all of the files on your drive – it is not erasing your files, just the unused space at the end of the last cluster used to store them.
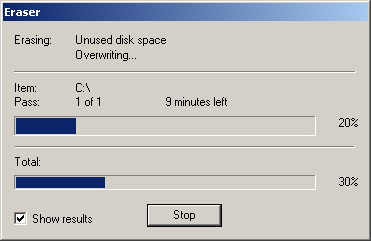
Finally, the unused space on the drive is overwritten, eliminating any data that may have been stored in that part of the drive.
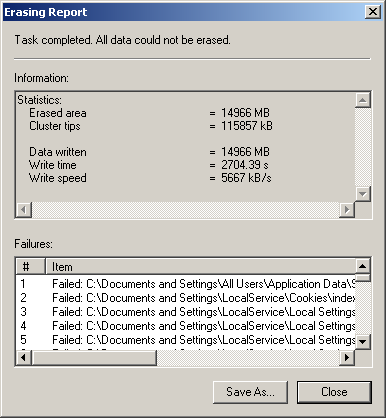
When the process has finished, an Erasing Report will be displayed. Some unused areas on the drive may not be overwritten because they are in use or belong to protected system files. Click ‘Close’ to close this window.
Securely moving files or
folders
Eraser can also be used to securely move files or folders. In a secure move, Eraser copies the data you select to the location of your choice, and then securely deletes the data from the source location.
NOTE: Eraser does not
encrypt the data it is moving in a secure move.
The ‘secure’ in ‘secure move’ refers to the deletion of the source data
after it has been copied to the chosen destination.
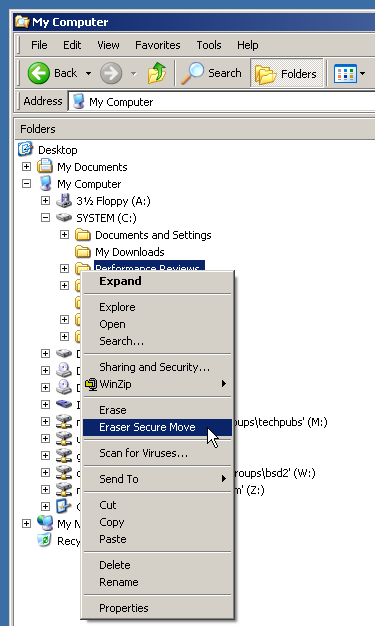
To securely move a file or folder, begin by navigating to the file or folder in Windows Explorer or ‘My Computer’.
Right click the file or folder you want to erase and select
‘Eraser Secure Move’.
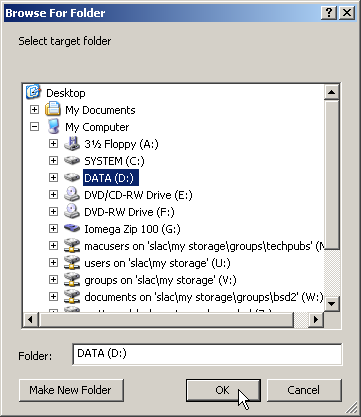
You will be prompted to choose a destination to move your selection to. Navigate to the location you want to copy your selection to and then click on ‘OK’.
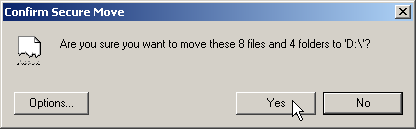
You will be asked to confirm that you wish to move the file or folder you have selected. Click ‘Yes’ to begin moving your selection.
Once your selection has been copied to the destination you have chosen, a window will appear showing the progress of erasing the source file or folder. An erasing report will not be displayed when the source data has been erased.
| Name | Date | Brief Description |
| mattc | 10/25/06 | Page created |